
Content for a Month in One Session: A Step-by-Step Plan for Businesses
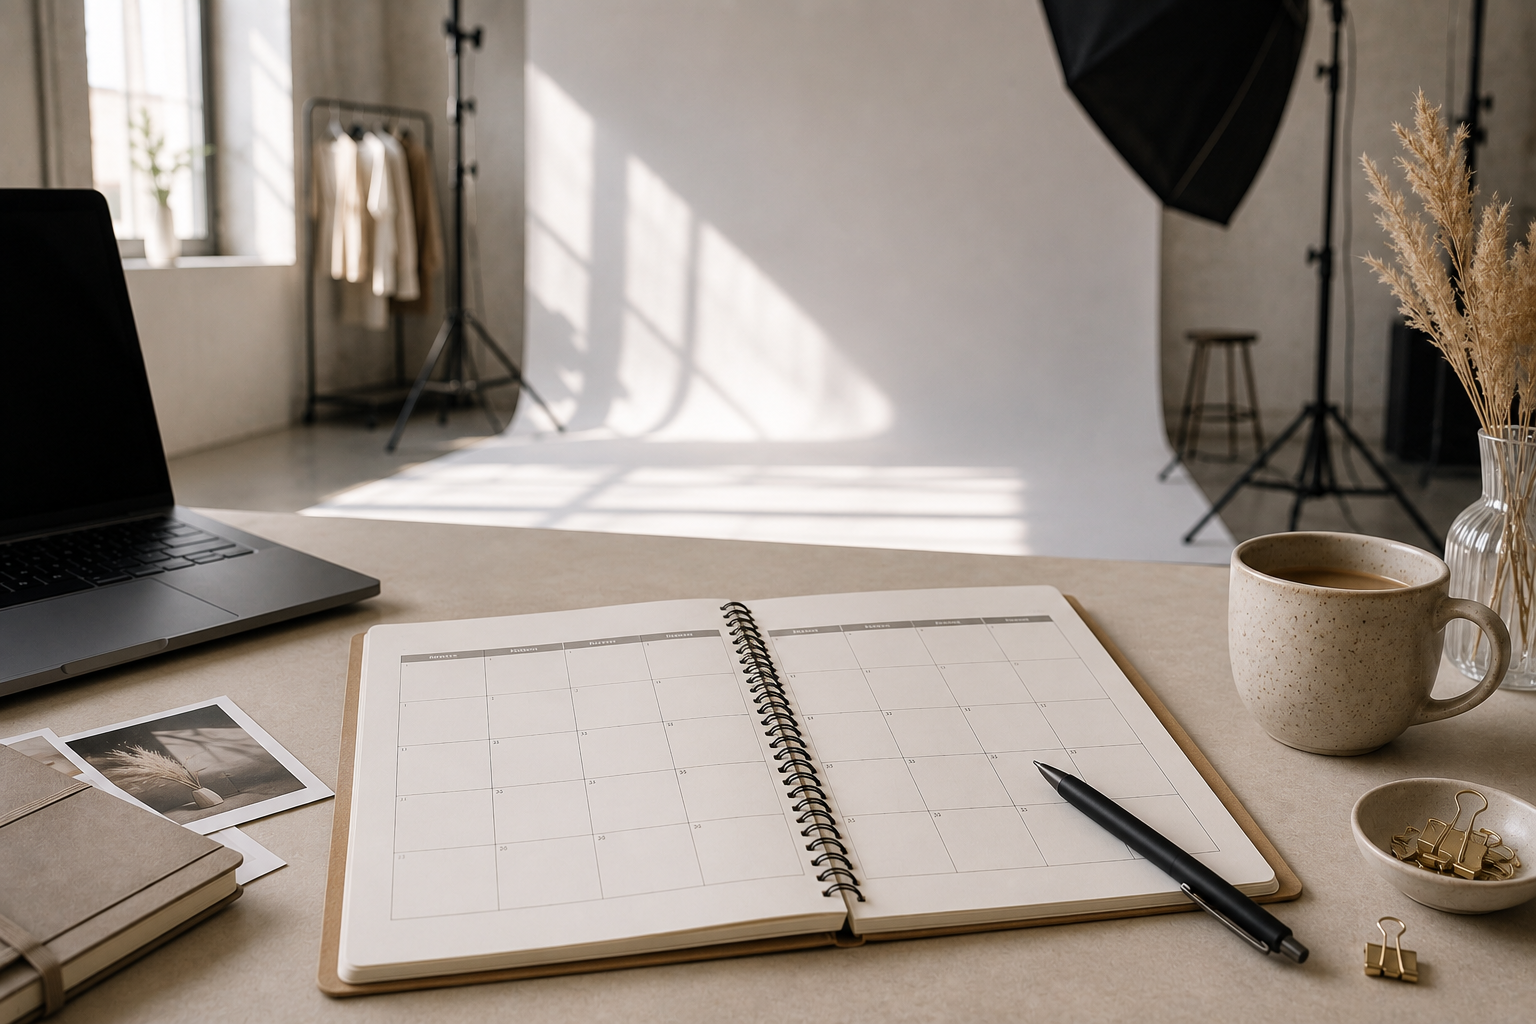
A step-by-step plan for a business content session: how to calculate the required number of photos and videos, prepare a shot list, and create enough materials for a month.
Create a Month’s Worth of Content in One Session
When you run out of photos a week after a session, the problem is usually not the number of images. Often, businesses shoot without thinking about the posts they will publish next: several similar portraits, one attractive wide shot, two random videos, and no materials created specifically for a particular launch, product page, or Stories.
You can avoid this before you even arrive at the studio. First, organize the month by goals and formats. Then turn those goals into a shot list, and only after that plan the session.
This way, a single visit gives you not a folder full of random images, but a library of photos and short videos that you can actually use.
You can avoid this before you even arrive at the studio. First, organize the month by goals and formats. Then turn those goals into a shot list, and only after that plan the session.
This way, a single visit gives you not a folder full of random images, but a library of photos and short videos that you can actually use.
Is It Really Possible to Create a Month’s Worth of Content in One Session?
Yes, if by “a month’s worth of content” we mean a set of core materials planned around your actual publishing calendar. Promising that everything can be shot in one hour for any business may sound appealing, but it does not take into account the number of products, channels, looks, or the complexity of the videos.
Sprout Social calls this approach content batching: grouping ideas, production, editing, and planning into blocks of work instead of preparing each post from start to finish at the last minute. The shooting day is only one of these blocks. Afterward, you still need to select and edit the images, assemble the videos, prepare captions, and organize the materials in your calendar.
For a small jewelry brand, a compact session may be enough to create content for several weeks. A catalog with dozens of new SKUs and more complex demonstrations will require more time or a separate production. The calculation should be based on specific “content units” rather than on “photos” in general.
At AR Porto, the reference point for a 60-minute business session is 3 to 5 looks or setups, 50 to 200 photos, and 5 to 15 short videos. This is a guideline based on our own experience and service, not a universal production standard. The result depends on preparation: four scenes prepared in advance are much faster to shoot than a scene that only starts being planned once you are already in the studio.
Sprout Social calls this approach content batching: grouping ideas, production, editing, and planning into blocks of work instead of preparing each post from start to finish at the last minute. The shooting day is only one of these blocks. Afterward, you still need to select and edit the images, assemble the videos, prepare captions, and organize the materials in your calendar.
For a small jewelry brand, a compact session may be enough to create content for several weeks. A catalog with dozens of new SKUs and more complex demonstrations will require more time or a separate production. The calculation should be based on specific “content units” rather than on “photos” in general.
At AR Porto, the reference point for a 60-minute business session is 3 to 5 looks or setups, 50 to 200 photos, and 5 to 15 short videos. This is a guideline based on our own experience and service, not a universal production standard. The result depends on preparation: four scenes prepared in advance are much faster to shoot than a scene that only starts being planned once you are already in the studio.
Create a Plan and Calculate How Much Material You Need
Start with the calendar, not with references. Mark launches, promotions, seasonal dates, new product arrivals, and topics your business regularly covers. For most small projects, 3 to 5 relevant content categories are enough: product, benefits, process, team, testimonials, or answers to customer questions.
Then you can calculate your needs in four steps.
Imagine, for example, a small brand planning 12 feed posts, 8 short videos, and regular Stories. It does not need 20 independent stories: four product scenes can generate wide shots, details, small movements, and process moments. The same core material can be adapted for different channels without turning the posts into exact copies.
Then you can calculate your needs in four steps.
- List the channels where the materials will actually be published: website, online store, Instagram, TikTok, LinkedIn, marketplace, newsletter, or advertising.
- Count the posts for each channel and divide them by format: single photo, carousel, Stories, Reels or Shorts, banner, or product page.
- Identify where you need a separate story and where the same core material can be adapted. A vertical video for Reels and a short clip for Stories can be recorded in the same take. A main product photo and an advertising image with space for text, however, usually serve different purposes.
- For priority scenes, prepare one or two alternatives. The backup is not intended to increase the number of images, but to protect you in case of an unsuccessful expression, a reflection on the packaging, or framing that is too tight.
Imagine, for example, a small brand planning 12 feed posts, 8 short videos, and regular Stories. It does not need 20 independent stories: four product scenes can generate wide shots, details, small movements, and process moments. The same core material can be adapted for different channels without turning the posts into exact copies.
Prepare the Shot List, References, and Props
The content plan answers the question, “What are we going to publish?” The shot list answers, “What exactly are we going to shoot?” It is practical to keep it in a table with fields such as: purpose of the material, channel, product or person, orientation, shot type, angle, action, props, and priority.
For a product brand, the basic set may include an overall view, important sides of the product, texture, hardware, packaging, scale, and use in a real-life situation. For an expert, portraits with different framing, the work process, details of hands and tools, movement, photos with a laptop or product, and short talking-to-camera videos are more useful.
Do not simply shoot the list from top to bottom. First, group the shots by background, lighting, clothing, and props. If you need product photos, a hand in the frame, and a short unboxing video within the same setup, it is more efficient to do everything consecutively than to return to the same scene after two outfit changes.
References help define the color, atmosphere, framing, and type of movement. Usually, five to ten examples are enough. There is no point in literally copying someone else’s photograph. It is more useful to understand the purpose of that particular composition. The approach of creating a series in which wide shots, details, and movement tell a story is explored further in the article about visual storytelling in photography.
For a product brand, the basic set may include an overall view, important sides of the product, texture, hardware, packaging, scale, and use in a real-life situation. For an expert, portraits with different framing, the work process, details of hands and tools, movement, photos with a laptop or product, and short talking-to-camera videos are more useful.
Do not simply shoot the list from top to bottom. First, group the shots by background, lighting, clothing, and props. If you need product photos, a hand in the frame, and a short unboxing video within the same setup, it is more efficient to do everything consecutively than to return to the same scene after two outfit changes.
References help define the color, atmosphere, framing, and type of movement. Usually, five to ten examples are enough. There is no point in literally copying someone else’s photograph. It is more useful to understand the purpose of that particular composition. The approach of creating a series in which wide shots, details, and movement tell a story is explored further in the article about visual storytelling in photography.
Prepare the Products, Looks, and Team
Studio time is often lost on small details: wrinkled clothing, a visible label on the sole of a shoe, or a phone with a dead battery. The day before the session, organize everything by scene and check every element carefully.
Decide in advance who will appear in front of the camera. The founder can communicate the personality of the business, a model can demonstrate the fit of a garment or the scale of an accessory, and a stylist can speed up more complex changes. In a self-service session, organizing the products, preparing the looks in advance, and making quick clothing changes are especially helpful.
- Products are clean, assembled, and match the current packagin
- For fragile products or items that get dirty easily, a backup unit is available
- Clothes are ironed, shoes are clean, and jewelry and hardware are free of marks
- Props are labeled by scene rather than mixed together in one bag
- The main talking points for spoken videos are saved on the phone and fit on a single screen
- Phones and additional equipment are charged and have enough available storage
- Brand colors and required elements have been checked against the references
Decide in advance who will appear in front of the camera. The founder can communicate the personality of the business, a model can demonstrate the fit of a garment or the scale of an accessory, and a stylist can speed up more complex changes. In a self-service session, organizing the products, preparing the looks in advance, and making quick clothing changes are especially helpful.
How to Divide a 60-Minute Session
Minute-by-minute planning should not turn the session into a race. The goal is to protect the essential shots while leaving a small safety margin. For example, one hour can be organized like this:
This is only a guideline, not a mandatory script. A complex composition of cosmetic products may require more time than changing a blazer and accessories. Start with the materials for the nearest upcoming launch and leave experimental ideas for the second half of the session.
Within each setup, alternate between photography and video. Have you taken the wide shot? Immediately record the movement, product rotation, product application, or a short phrase. Before changing the scene, check the focus, packaging edges, reflections, orientation, and available negative space for text. How the camera, mirror, remote control, and real-time result preview work is explained in the article about how a photo studio without a photographer works.
- 0–5 minutes — get familiar with the equipment, do a test shot, check the lighting and product position
- 5–17 minutes — first priority setup, photos and two or three short videos in the same scene
- 17–30 minutes — second setup or look
- 30–43 minutes — third setup
- 43–54 minutes — fourth block or additional videos for scenes that have already been photographed
- 54–60 minutes — check the list, create essential duplicates, and reshoot anything that has problems
This is only a guideline, not a mandatory script. A complex composition of cosmetic products may require more time than changing a blazer and accessories. Start with the materials for the nearest upcoming launch and leave experimental ideas for the second half of the session.
Within each setup, alternate between photography and video. Have you taken the wide shot? Immediately record the movement, product rotation, product application, or a short phrase. Before changing the scene, check the focus, packaging edges, reflections, orientation, and available negative space for text. How the camera, mirror, remote control, and real-time result preview work is explained in the article about how a photo studio without a photographer works.
What to Do with the Materials After the Session
The first thing to do is save a second copy of the files. Then organize the materials not by random camera file numbers, but by scene and purpose: “new collection — catalog,” “jewelry — details,” “founder — Reels.” This structure makes it much easier to send files to a retoucher, designer, or video editor.
After the technical selection, choose the main images and alternatives. Do not edit everything that was photographed: two hundred original files may result in twenty genuinely different photographs as well as several series for carousels. For each selected material, prepare the required crops, but keep the original file uncropped.
Short videos work best when they are built around a single action. The beginning should be understandable without a long introduction, and captions should be easy to read on a phone screen. If the same clip is used across several channels, adjust the edit, cover, or caption to suit the context of each channel instead of publishing an exact copy everywhere.
The final step is to distribute the materials throughout the calendar and leave some spaces open. Buffer’s example illustrates this logic well: a content library prepared in advance can provide the foundation for a month, but it does not replace spontaneous posts, news, and reactions to current topics. Content should not feel static simply because it was photographed in advance.
Before booking the session, check this simple sequence: monthly goal — channels — post formats — shot list — products and props — setup order — editing and calendar. If every stage is defined, your studio time can be spent shooting rather than holding an emergency meeting next to the camera.
For a small brand or an individual expert, a self-service business content session can be a good option: the camera, lighting, and background are already prepared, so you can focus on the products, looks, and scripts. If you need models, complex styling, or a large advertising campaign, it is better to discuss a full production in advance and prepare a specific plan for the project.
After the technical selection, choose the main images and alternatives. Do not edit everything that was photographed: two hundred original files may result in twenty genuinely different photographs as well as several series for carousels. For each selected material, prepare the required crops, but keep the original file uncropped.
Short videos work best when they are built around a single action. The beginning should be understandable without a long introduction, and captions should be easy to read on a phone screen. If the same clip is used across several channels, adjust the edit, cover, or caption to suit the context of each channel instead of publishing an exact copy everywhere.
The final step is to distribute the materials throughout the calendar and leave some spaces open. Buffer’s example illustrates this logic well: a content library prepared in advance can provide the foundation for a month, but it does not replace spontaneous posts, news, and reactions to current topics. Content should not feel static simply because it was photographed in advance.
Before booking the session, check this simple sequence: monthly goal — channels — post formats — shot list — products and props — setup order — editing and calendar. If every stage is defined, your studio time can be spent shooting rather than holding an emergency meeting next to the camera.
For a small brand or an individual expert, a self-service business content session can be a good option: the camera, lighting, and background are already prepared, so you can focus on the products, looks, and scripts. If you need models, complex styling, or a large advertising campaign, it is better to discuss a full production in advance and prepare a specific plan for the project.
ar.portostudio@gmail.com


AR Porto Selfie Studio © 2026


Leave a request
Our manager will contact you for booking
